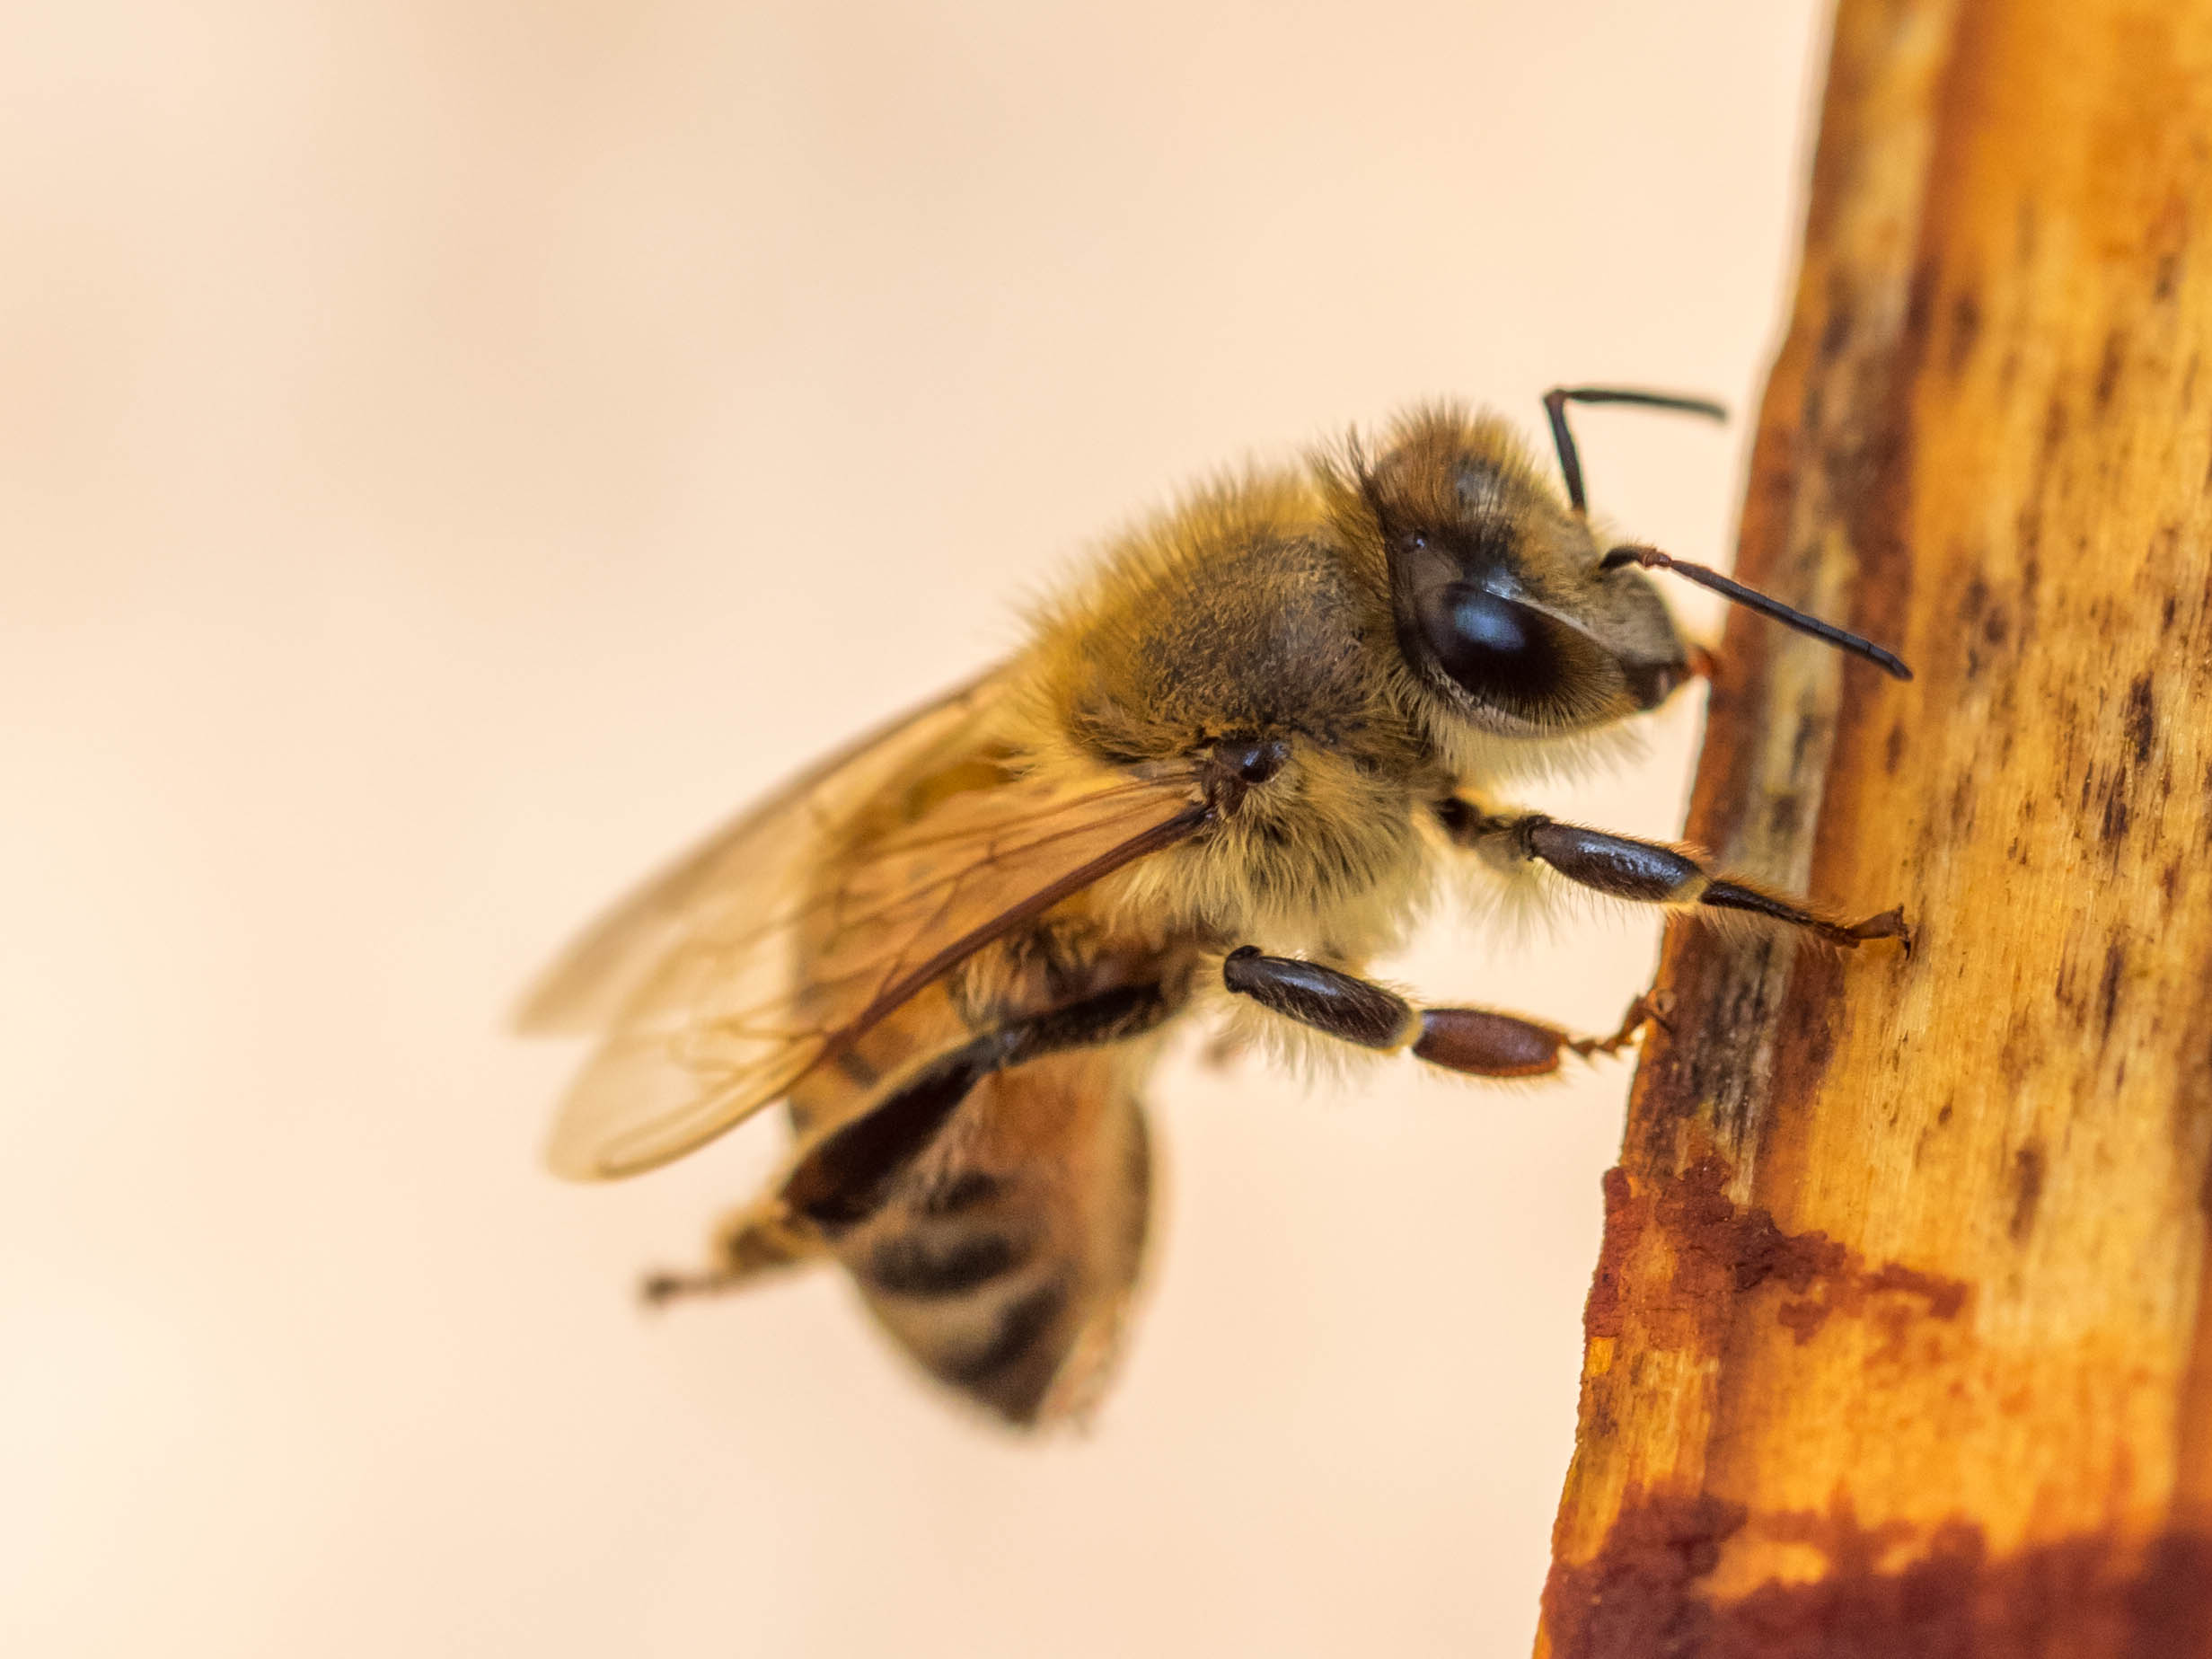
Winter is coming. Our bees may not be headed for an epic battle against white walkers, but the winter months are a terrifying prospect in their own right. Fortunately, honeybees are excellent planners; they have been preparing for this since the end of last winter! The colony’s life cycle revolves around two things: swarming (to spread their genetics) and stockpiling enough honey to eat through the longest, coldest nectar dearth of the year.
As beekeepers, our winter preparations generally begin at summer’s end as temperatures peak, humidity decreases and the nectar ceases to flow. The build-up period is over, and it is time to winterize and help our bees get ready for the cold months. Everything we do is meant to support what the bees are already doing, keeping in mind that interfering too much can be counter productive. In this post, we’ll be taking a look at:
Honey harvesting
Fall and winter feeding (yup, gotta think about both!)
Winter hive configuration
Insulation techniques
Securing hives for winter weather
Pest prevention
The Honey Harvest
Here in Oregon, our honey harvest falls at the end of August. The bees have stored about as much as they’re going to before winter hits, giving us a chance to evaluate their food stores and decide how much we can responsibly take from them. It is good practice to not harvest from first-year colonies, and for established colonies, the harvest amount will vary by location depending on the length of the winter season. We recommend finding out the general harvest guidelines from experienced beekeepers in your area. In Portland, we like to like have a 1:1 ratio of brood frames to honey frames (and a little extra, to be safe).
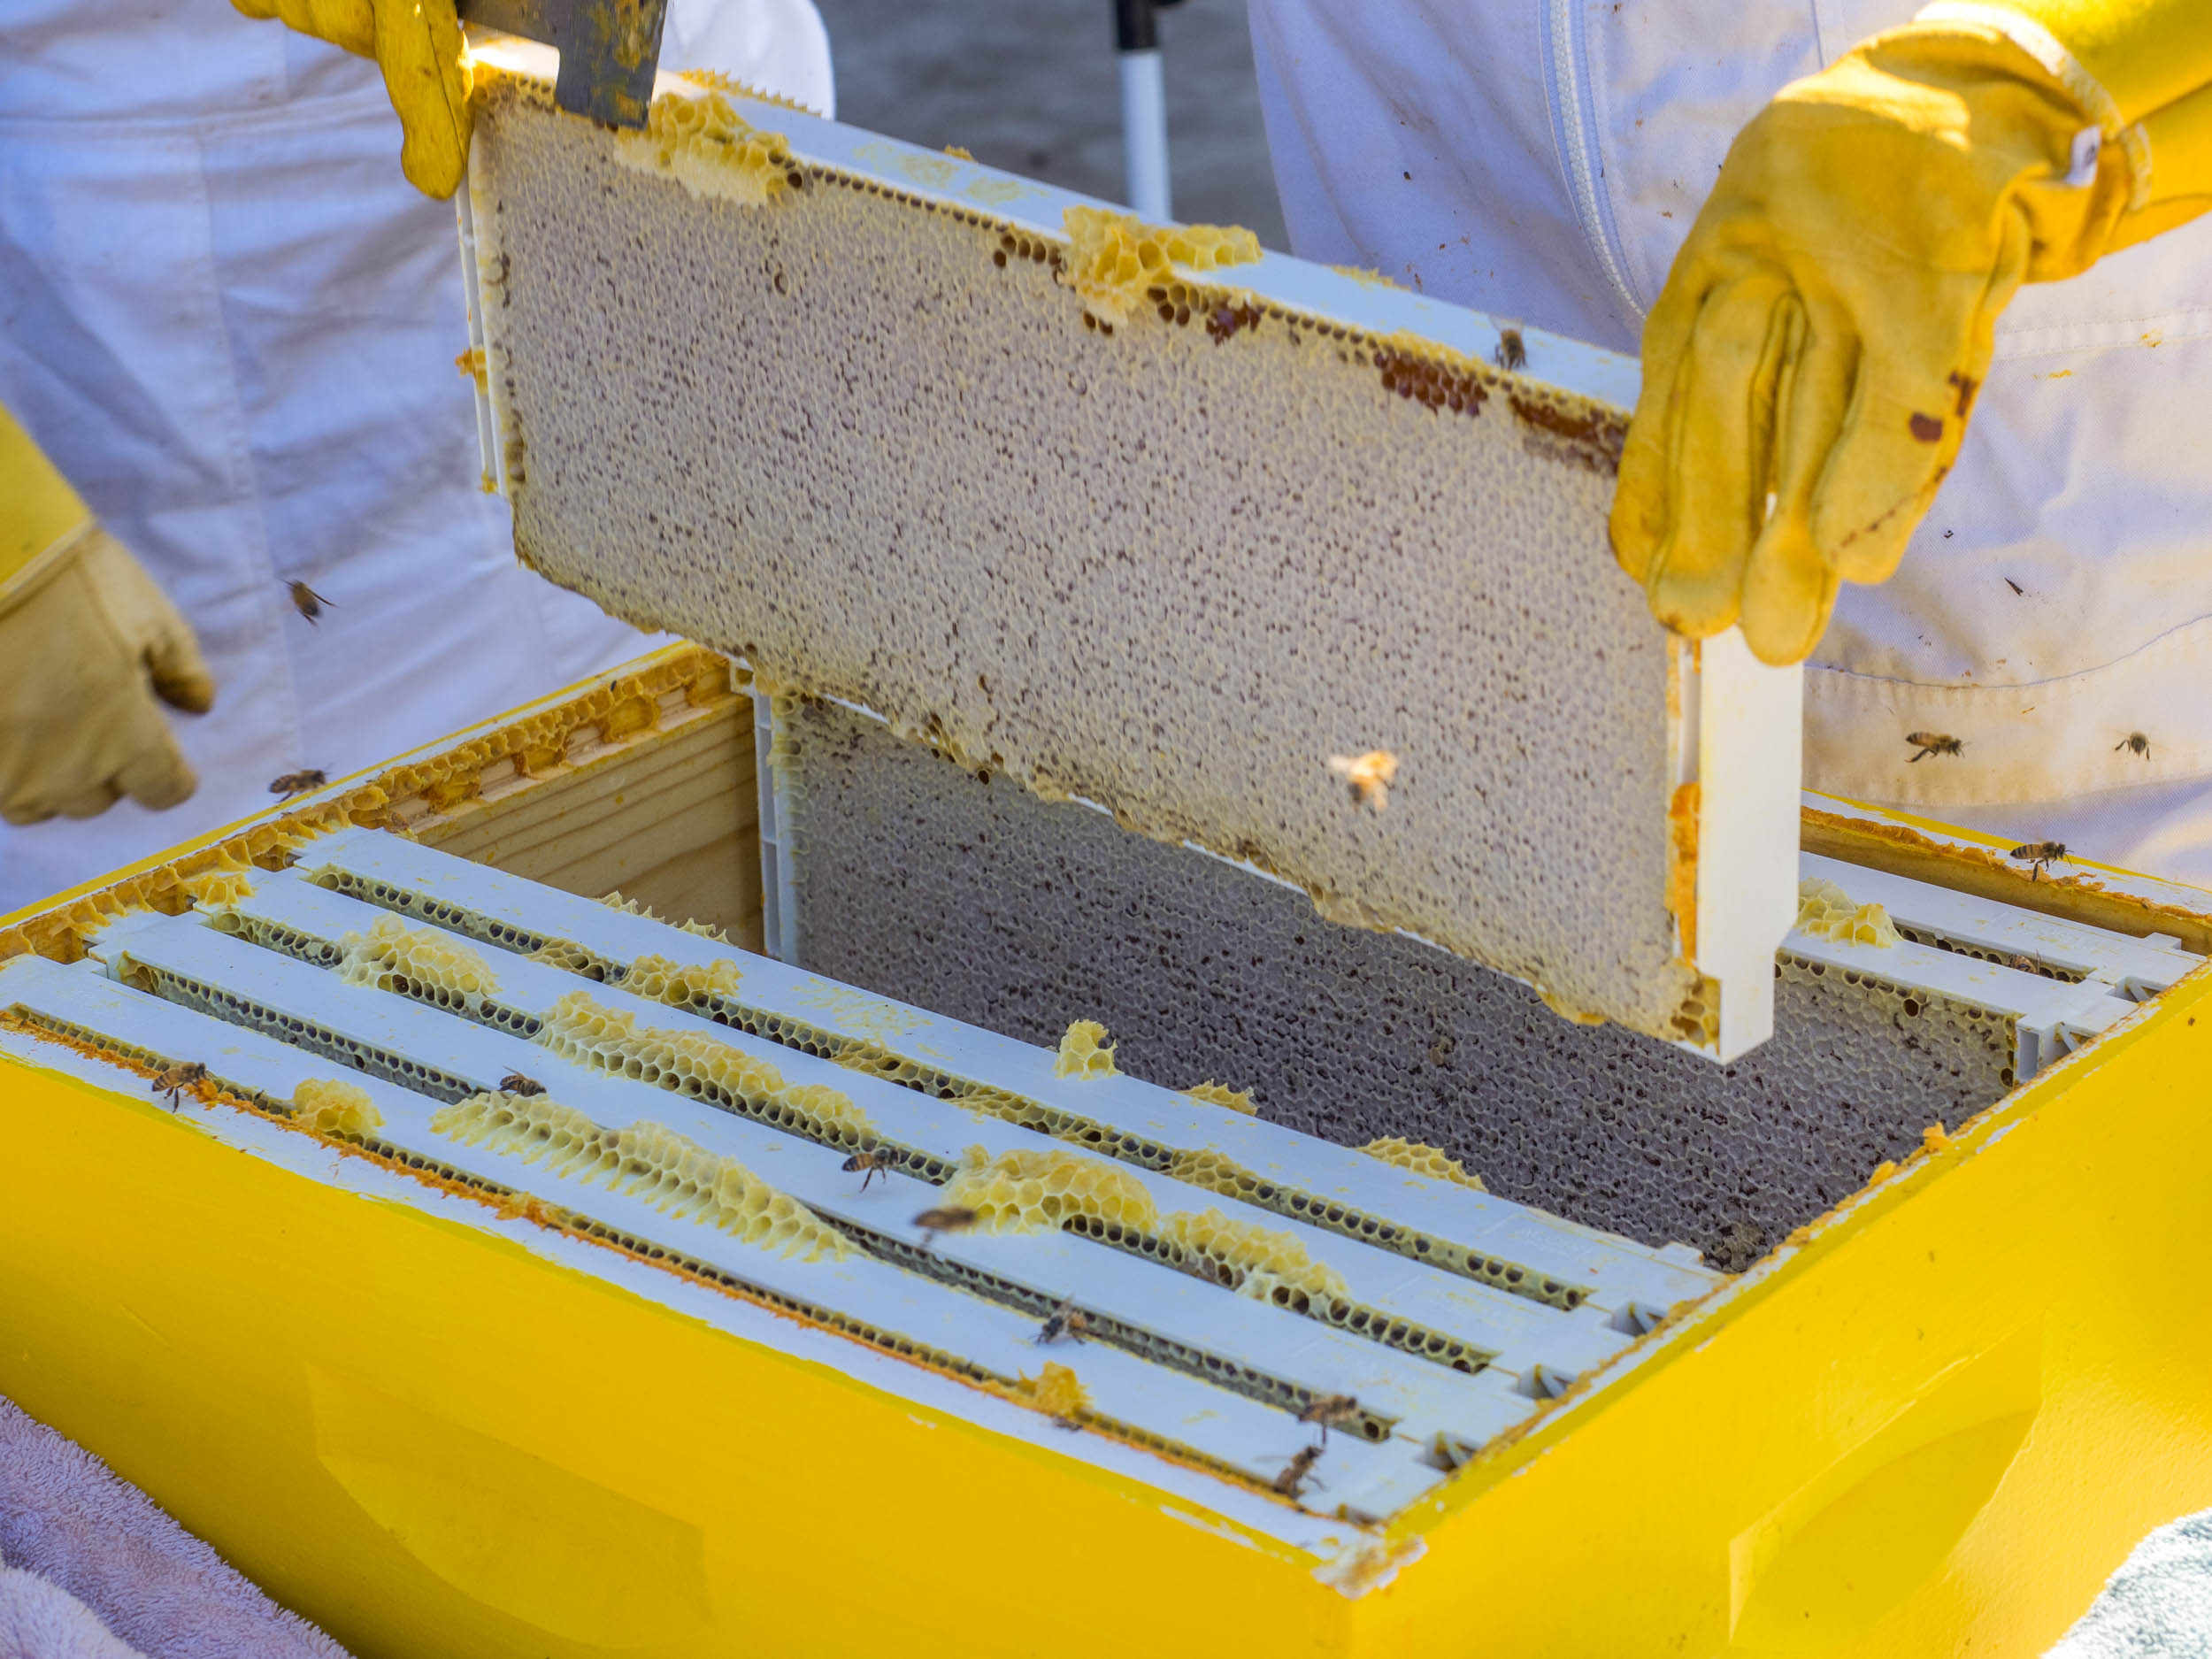
New beekeepers may find it helpful to count frames, but as you gain experience, you’ll be able to get an accurate read on your honey stores by “hefting” the hives - they should feel quite heavy. If a hive feels light, or you count frames and find them lacking, it’s time to consider feeding.
Fall and Winter Feeding
We are advocates of feeding only as a last resort. The nutritional components of honey are complex and cannot be replaced by sugar syrup without detrimental effects to colony health. Additionally, feeding can support bees that were not able to adequately prepare for winter, thereby allowing weak genetics to persist. However, if the bees’ honey stores are not sufficient to support the established population through the winter, artificial feeding (negative effects and all) is a better option than letting them die from starvation.
Fall Feeding
Heading into fall, you will want to feed a 2:1 sugar water syrup (as opposed to the 1:1 syrup in the spring). They will store the thicker syrup in place of nectar, bolstering their winter stores. Refined white cane or beet sugar works, but never give them raw sugar; the solids will upset their little bee tummies. If you are able, feeding excess honey from a stronger hive is exponentially better for the bees than sugar.
Winter Feeding
If they are still light once cold weather hits, you'll need to make preparations for winter feeding. You cannot continue to feed liquid syrup, as the bees will stop taking it once it dips below 50 degrees. It’s a good idea to plan ahead and install your late winter feed when you close them up in the fall. That way, you don’t have to open the hive later on and expose them to cold weather. You can use traditional candy boards, fondant or just plain old piles of sugar on top of some newspaper, but our favorite method is the no-cook candy board. It combines the easy clean-up and reusability of the normal candy boards and fondant, while being much simpler to put together (and much less dangerous). You can find a good tutorial here.
Pollen in Winter
There seems to be a lot of confusion about whether or not to feed pollen in the winter, so let’s consider the role it plays in the honeybee diet. Pollen is a vital part of baby bee development, as it is their sole protein source. It becomes abundant in early spring when the hive needs to expand their population quickly, and again in the fall when the bees need to raise strong, fat winter bees. The middle of winter is not the appropriate time for a population boost, because the last thing they need is an influx of hungry mouths to feed.
Commercial beekeepers feed pollen mid-winter to stimulate brood production in preparation for pollination contracts in early February. If you aren’t planning to load your bees up on a truck in February and head to California, you don’t need to feed pollen in the winter. Increasing your winter population artificially could harm your hives.
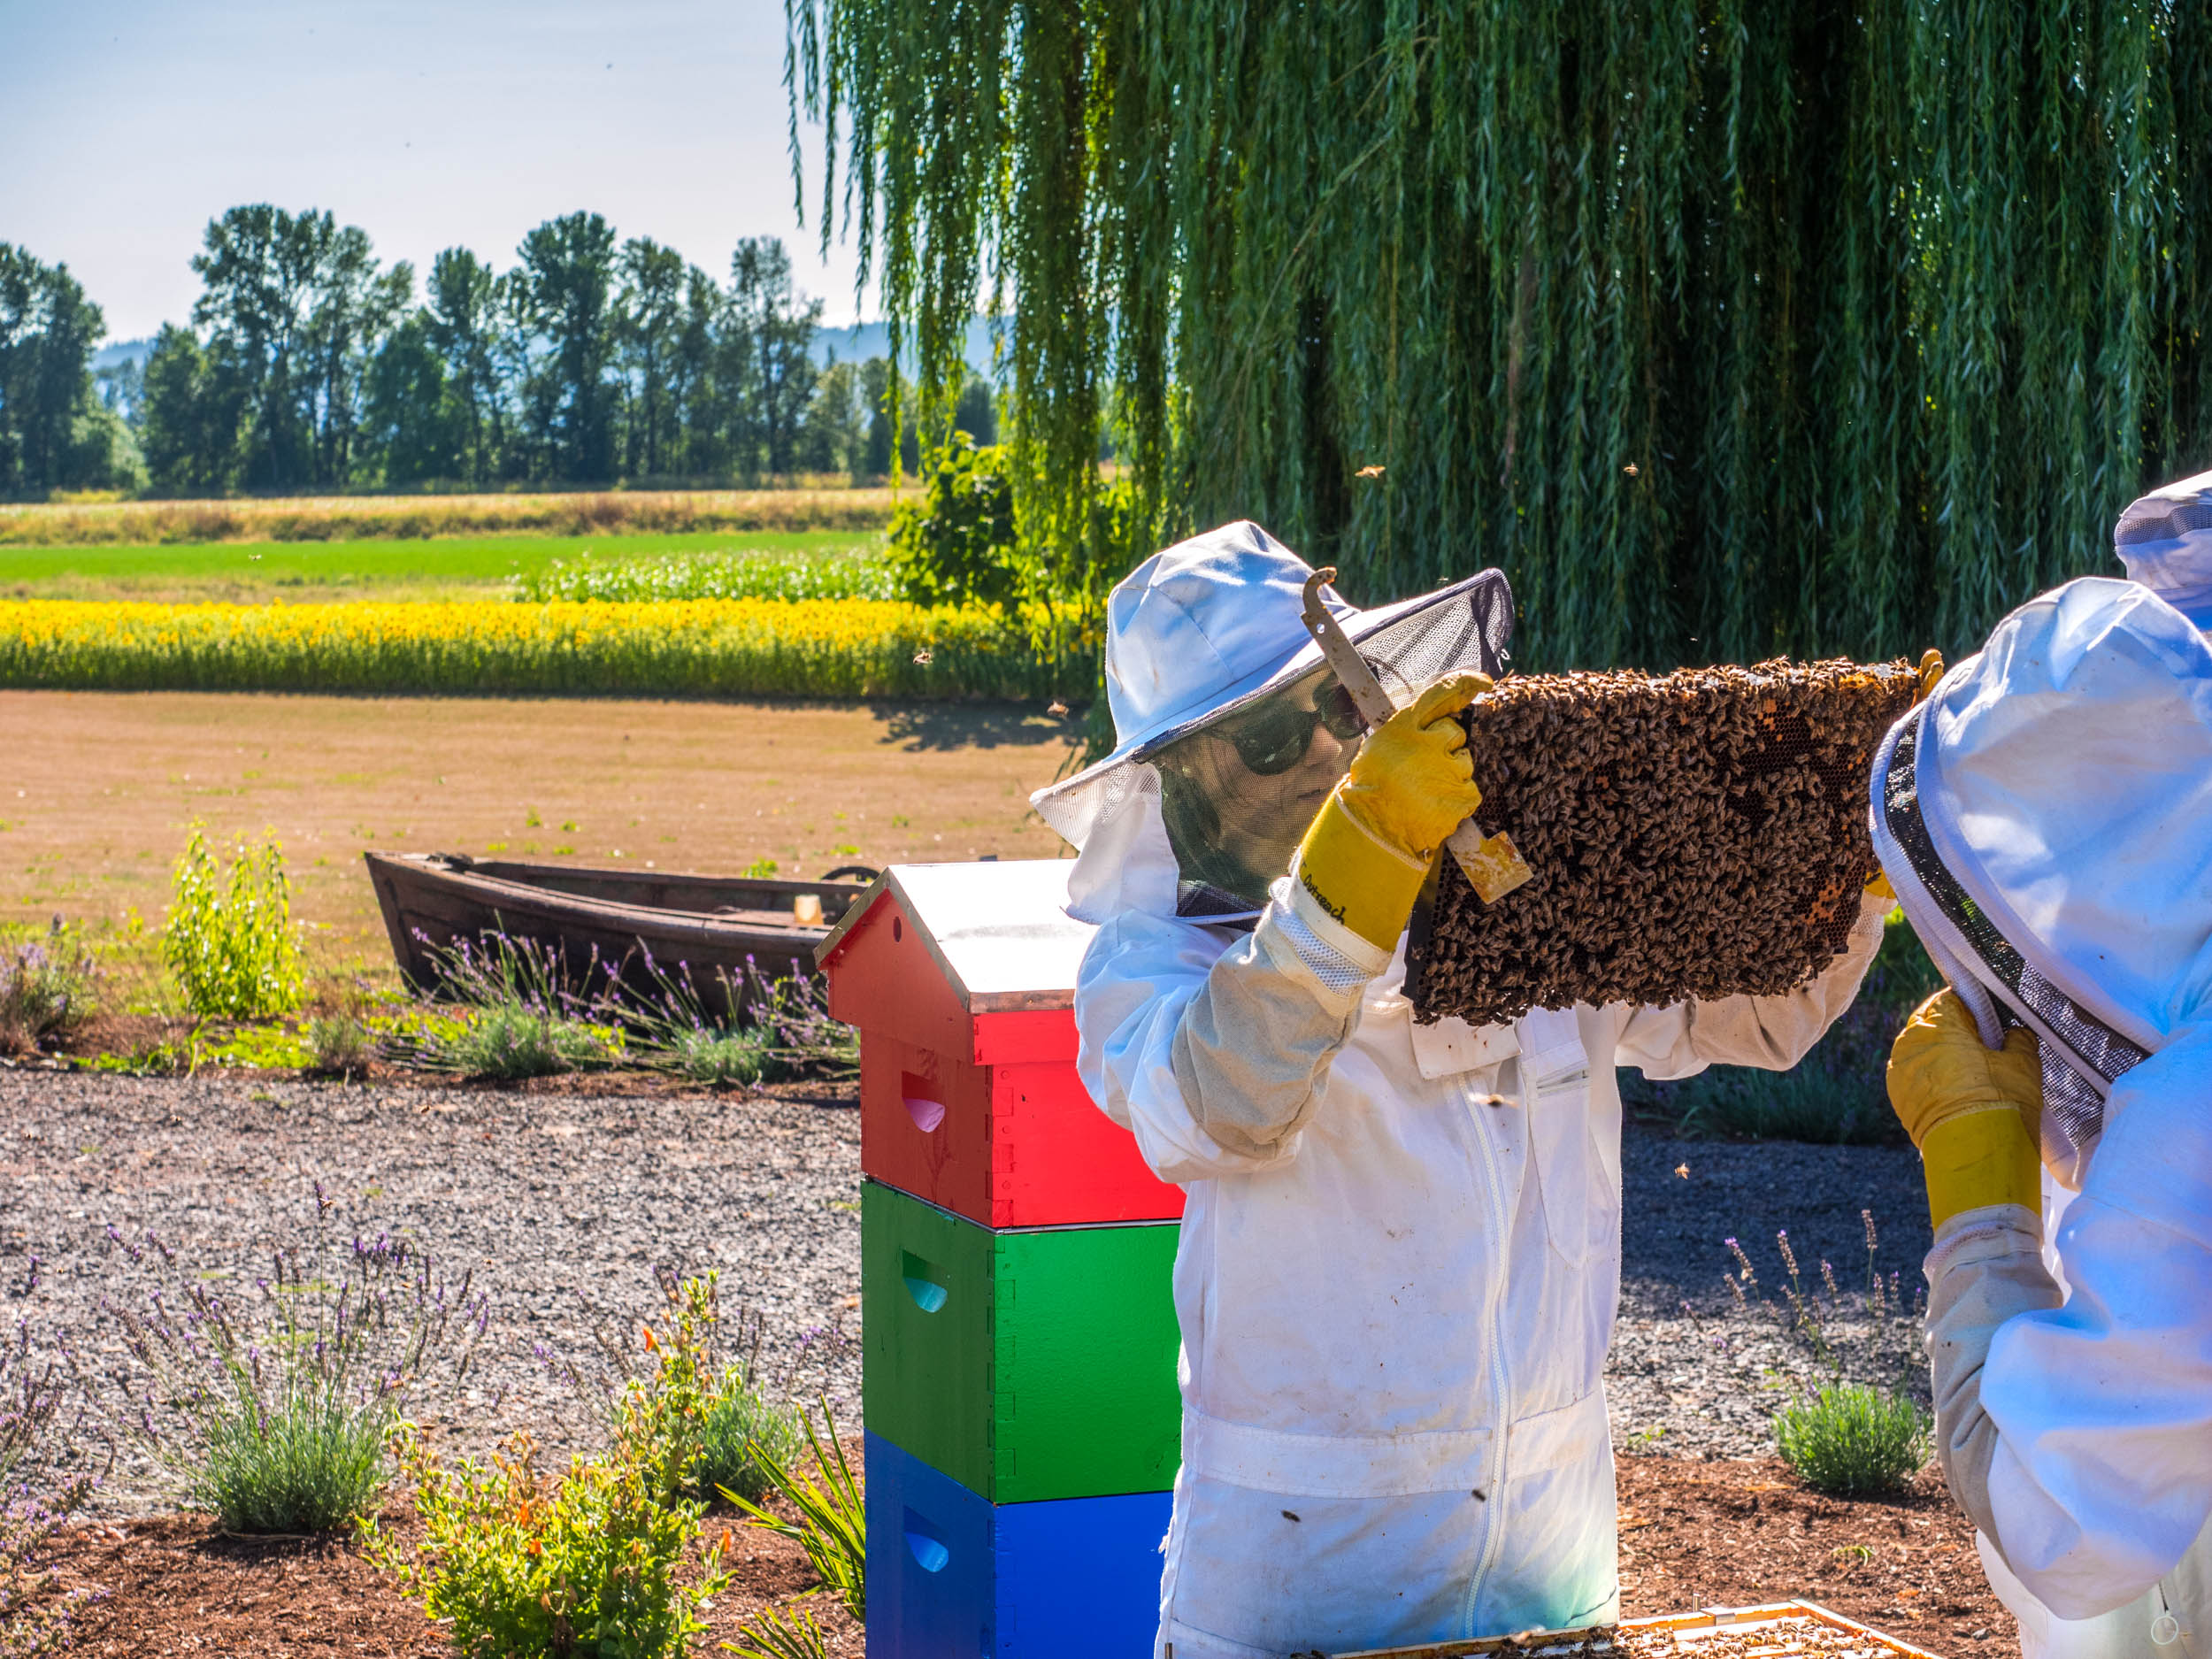
Winter Hive Configuration
Remove unnecessary space. Overwintering your bees in the smallest space possible by pulling off empty boxes (or top bars) will prevent heat diffusion, keeping the bees from expending unnecessary energy warming their cluster. This will also limit the space available to mice and other small critters looking for a warm place to crash.
Make sure the honey is in the right spot. We don’t recommend interfering with comb arrangement often, because the bees usually organize their brood nest and food stores exactly the way they need them. That said, sometimes things go sideways and might need some rearranging. In Langstroth and Warré hives, honey frames should be on either side and on top of the cluster. In a TBH, the honey bars should be to one side of the cluster. The idea is that the cluster should be able to move together in one direction to eat through the stores. You don’t want half of the cluster moving in one direction and the other half moving in the other!
Remove your queen excluders. If excluders are left in the hive, you run the risk of the queen being left behind as the cluster moves up in the honey stores. This will kill your queen (and your colony).
Combine weak colonies. If you wind up with two colonies that are too small to overwinter, consider combining them. Overwintering one hive is better than losing both! You can also combine a weaker colony with a strong one, but be sure that the colony isn’t weak due to mite overload or disease - you’d just be weakening your strong colony. Also, be sure that the stronger colony has enough food stores to take on the extra bodies - you don’t want to bolster a weak colony at the expense of a strong one.
Insulation Techniques
The need for extra insulation will vary by location. Portland winters are more mild than Minnesota winters, but much colder than in San Diego. It’s a good idea to consult with beekeepers in your area to see what works best, but we will cover some general techniques.
Make sure your hive is water tight. Examine the roof and box sides, plugging up any cracks or holes that might let moisture or excessive cold air into the hive. If you’re using screened bottom boards, be sure to close them up or swap them out for solid boards.
Insulation boxes are a good idea for any climate. The idea is pretty simple: you place a shallow box with a breathable bottom (i.e. canvas, burlap) filled with dry, organic material on top of the colony. These are standard on Warré hives, but I’ve seen them modified for Langstroth and Top Bar Hives, as well. These insulation boxes will keep heat in the hive and draw excess moisture out, both very important for winter months.
Think twice before wrapping, because it can be dangerous if done incorrectly. Wrapping often causes a build-up of moisture in the hive, which can freeze and kill the colony. A soggy hive environment is also at higher risk for mold. Instead, consider constructing a wooden “hive cozy” with dead space between the outer shell and the boxes. This would provide an added layer of insulation while maintaining breathability.
Roofing tiles placed on top of the hive is an easy addition that can help soak up and retain heat on sunny days.
A Warré-specific technique is to stagger the boxes so that comb is perpendicular between each box. This will prevent cold air channels from moving through the entrance and up to the cluster.
Securing Hives for Winter Weather
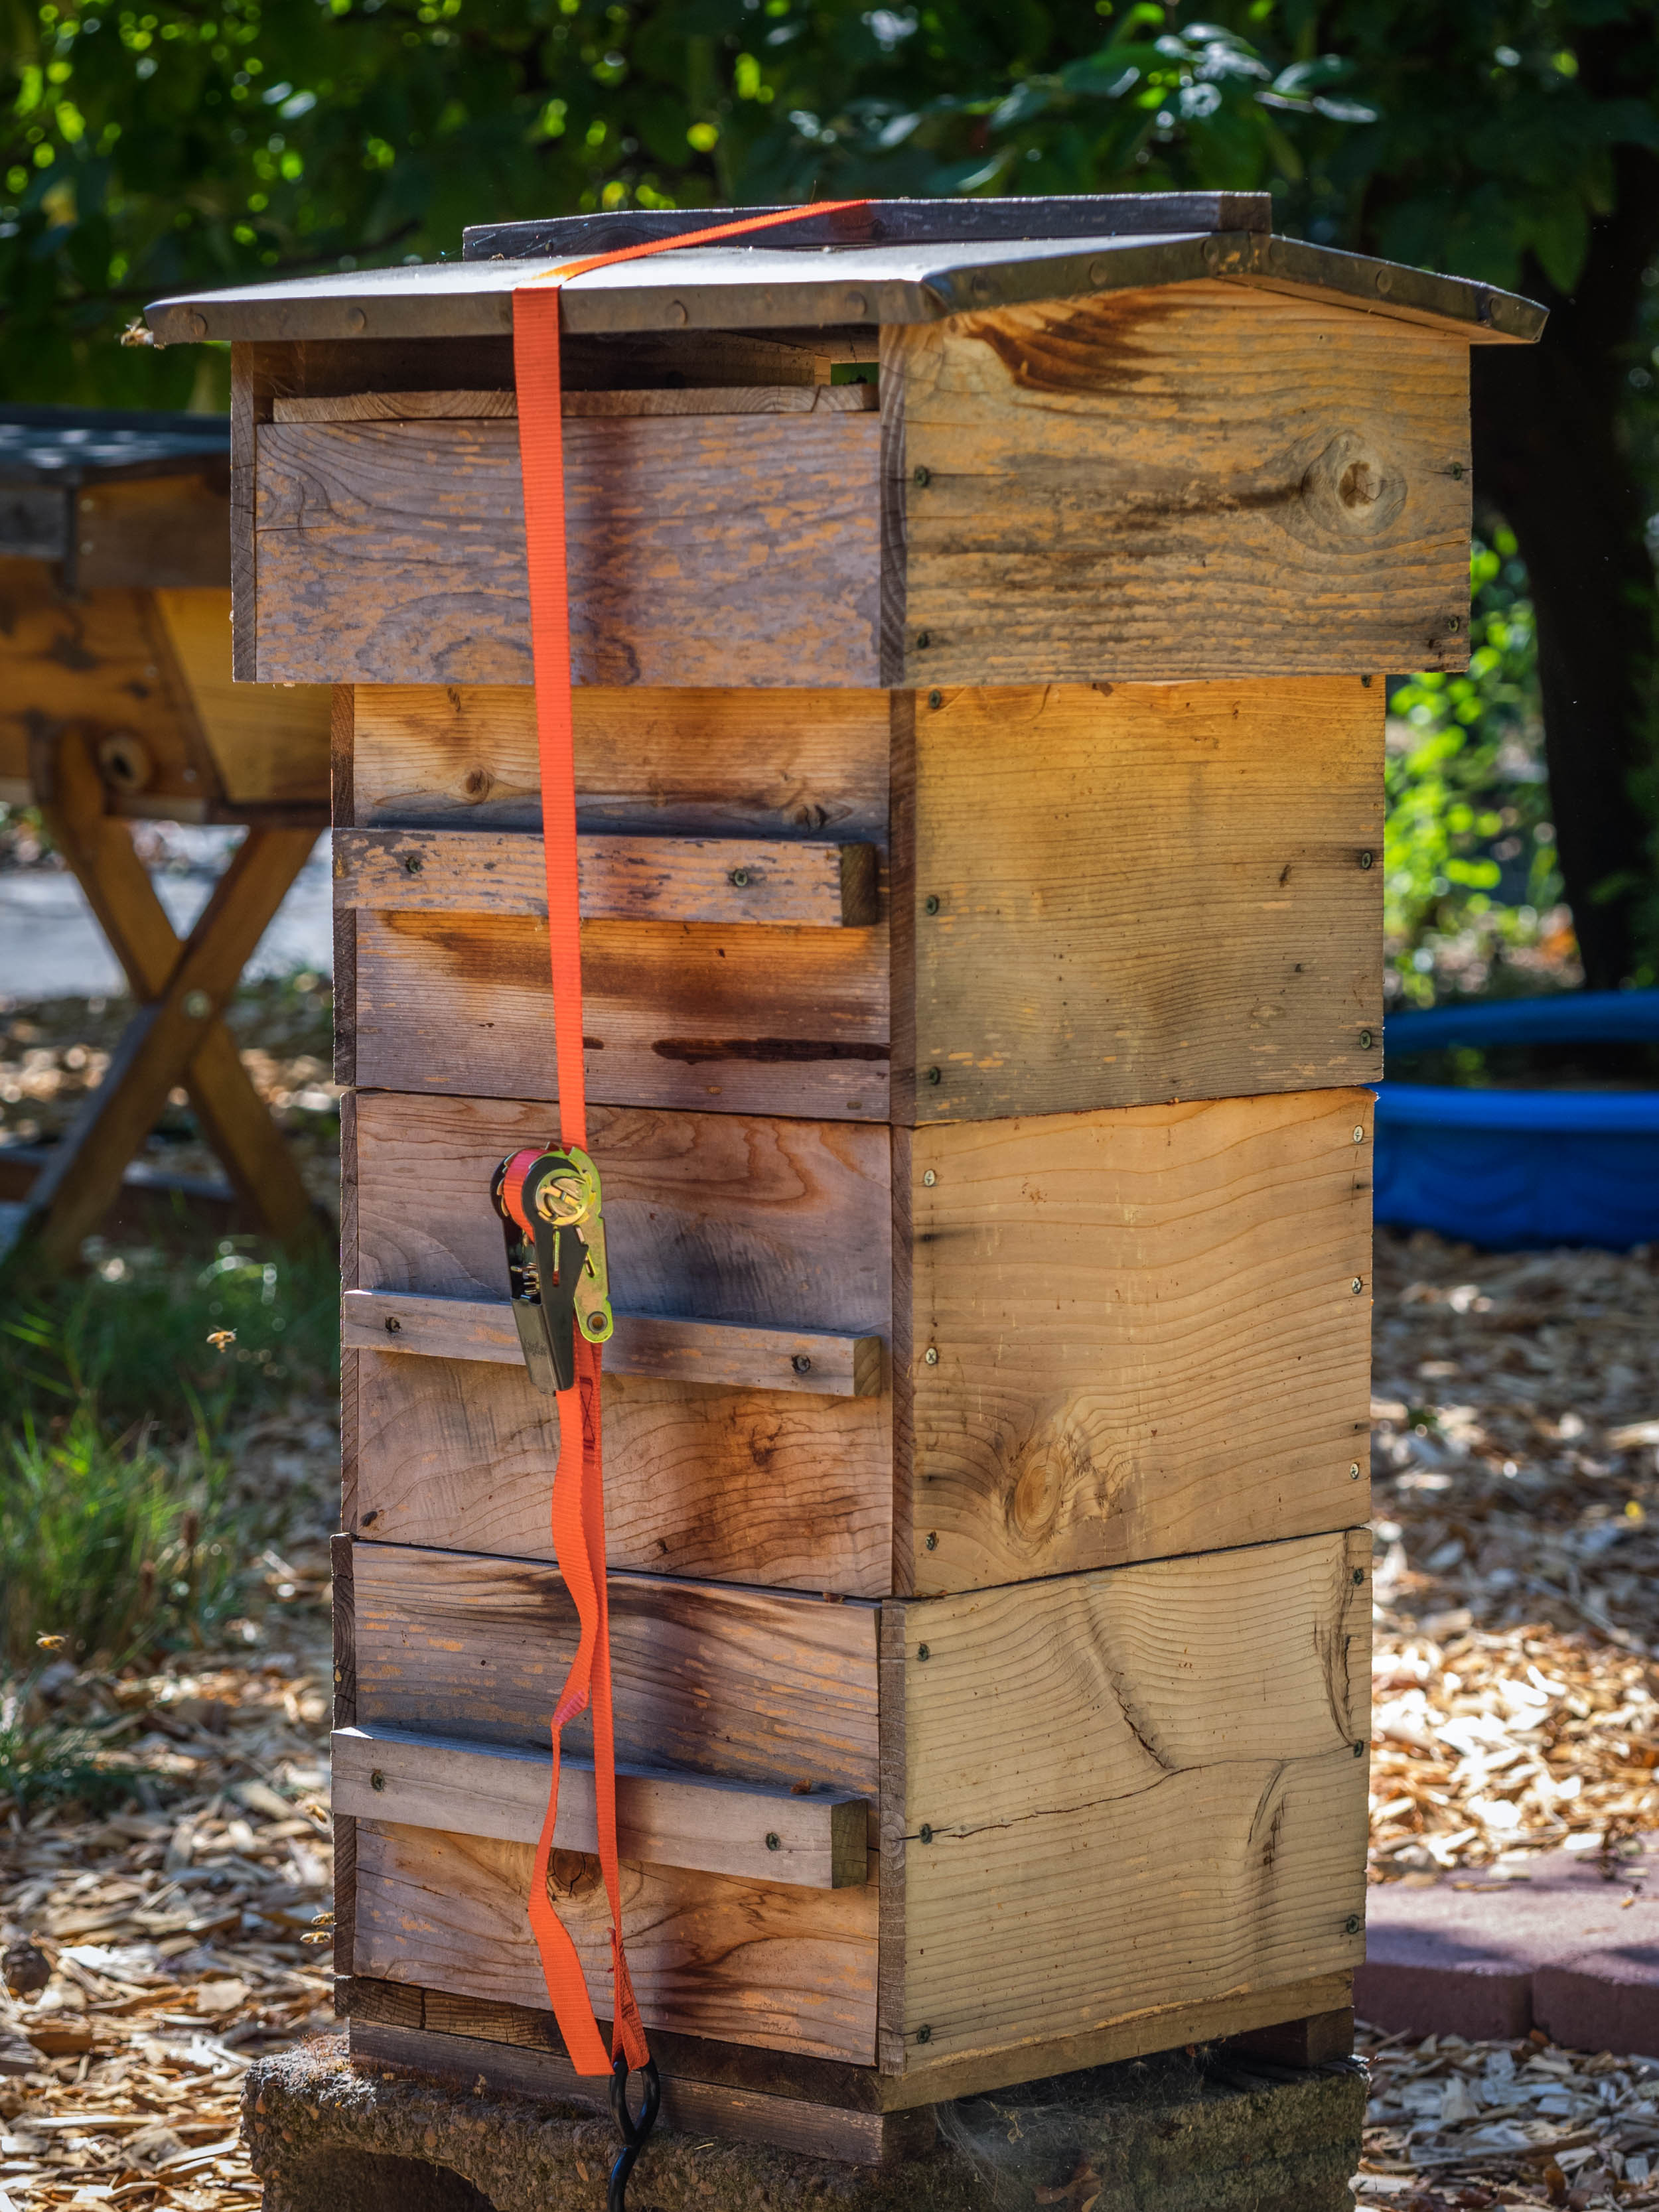
Batten down the hatches. It’s always a good idea to tie down your hives with rope or ratchet straps, or to place heavy bricks on top. Hives are unlikely to survive getting knocked over in the middle of winter, so taking steps to secure them is important.
Provide a windbreak. If your hives are in a particularly windy location, a wind buffer will go a long way for temperature regulation and preventing the hives from being knocked over. Stacked hay bales make an excellent temporary wall.
Move them inside. Beekeepers in harsh climates will sometimes move their hives into a shed or garage for the winter. If you go this route, make sure to move them after foraging is done for the season, so that foragers don’t get stuck at their original location. Be sure that they get moved out into the open with an open entrance so they can do cleansing flights on the warmest days. Placing the hives in three-sided structures (like a horse run-in) can provide extra shelter without the need to move them back and forth.
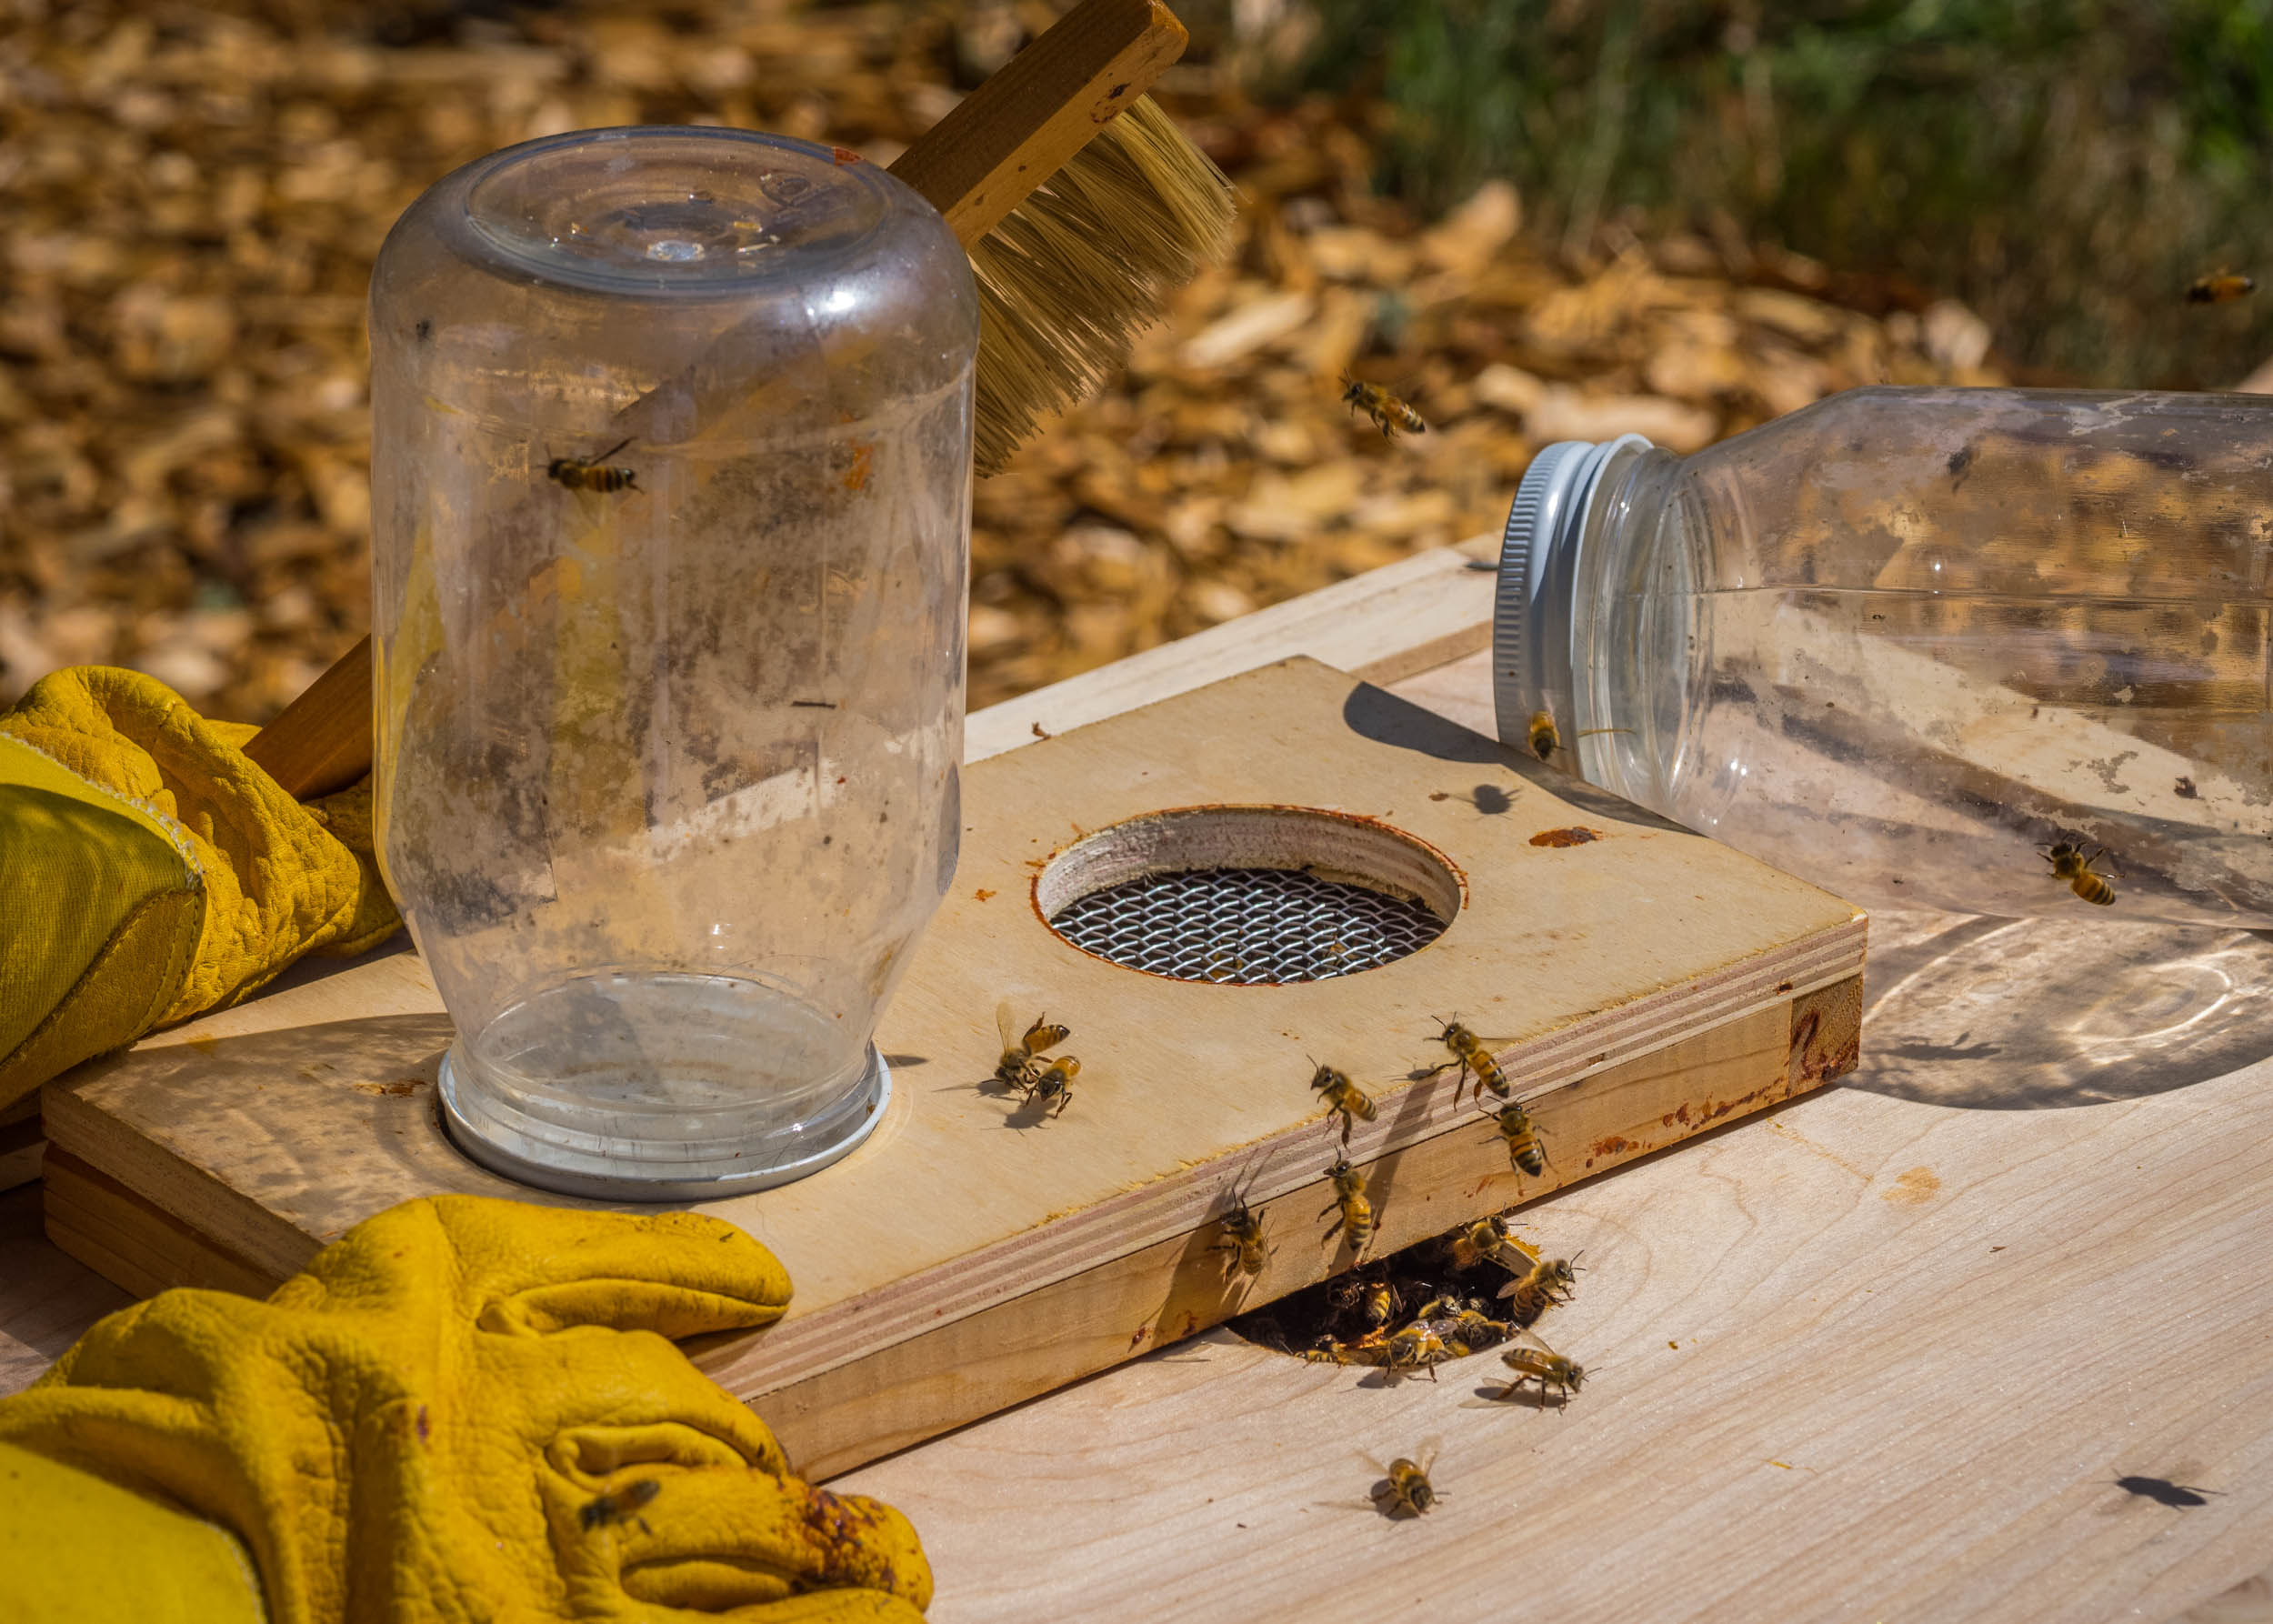
Pest Prevention
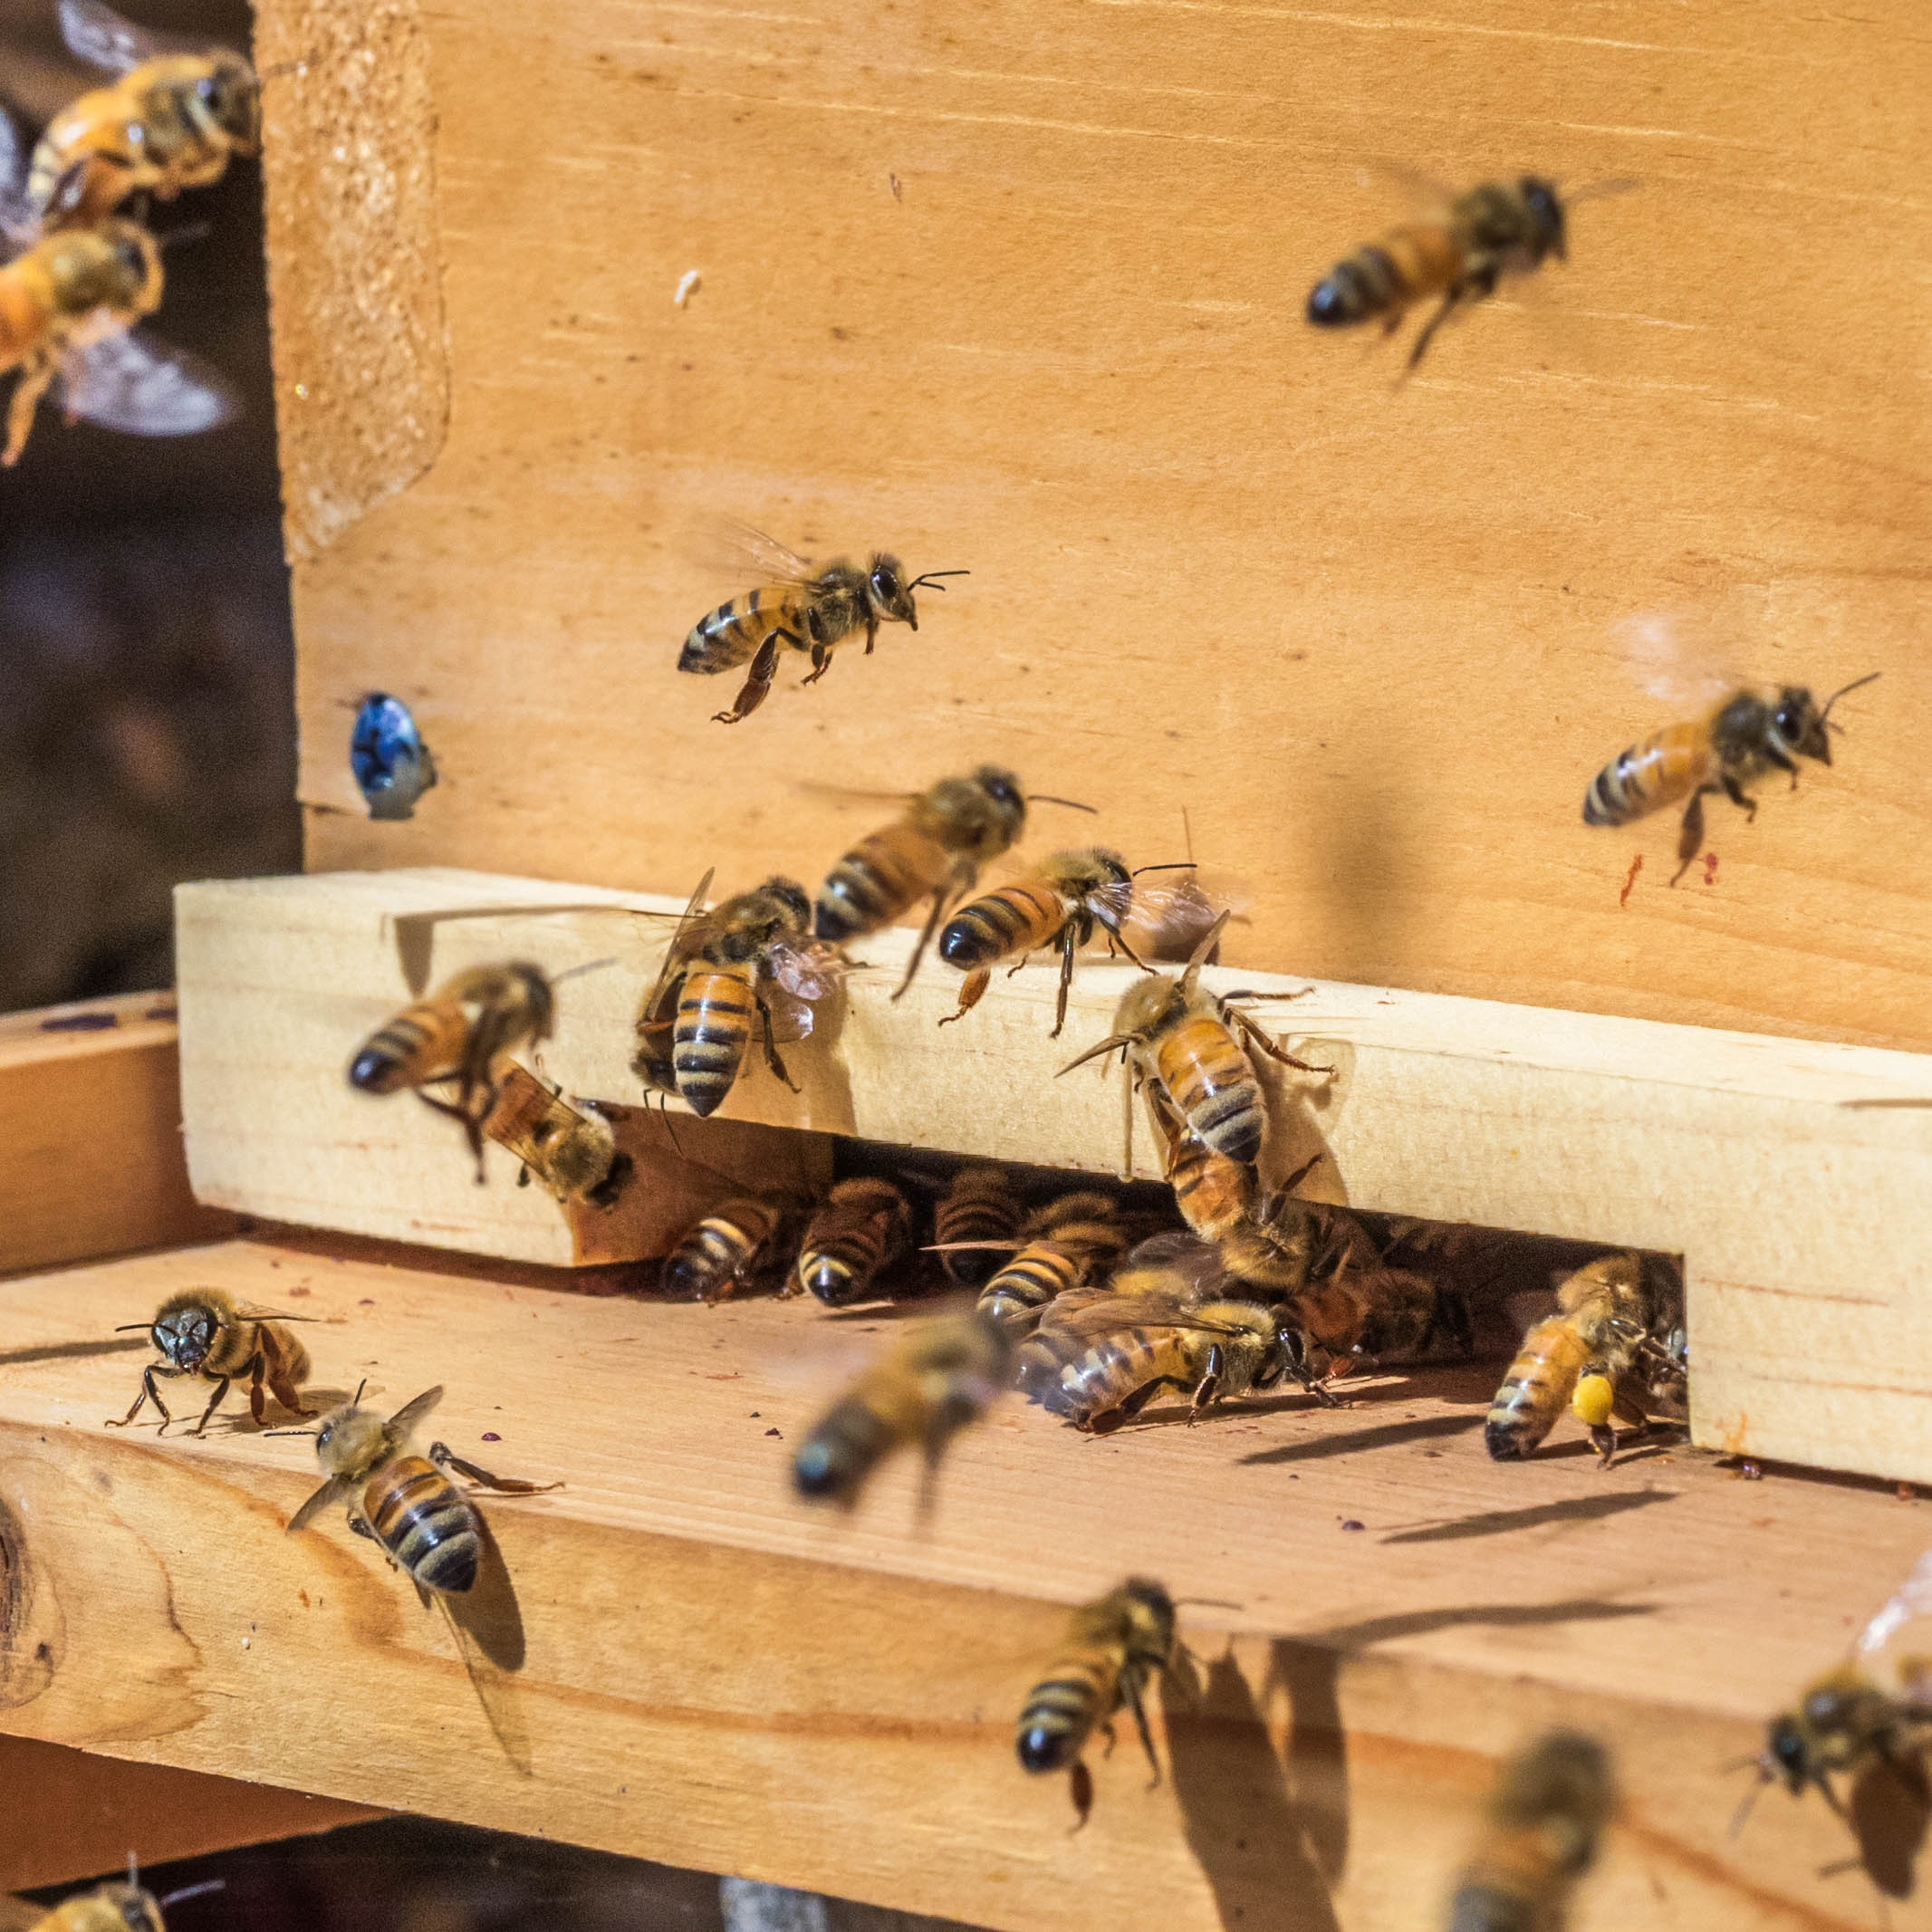
Entrance reducers and mouse guards should go on in the latter half of summer - right when populations are beginning to decline and honey stores are growing. Smaller entrances will keep out yellow jackets and thieving neighbors in the fall, and mice looking for a warm place to live in the winter. If your colony is weak, it’s good to close up the entrance as much as possible to give them the least amount of space to defend. It’s important to remember to check in on your hive entrances in the winter; dead bees may need to be cleared out periodically to allow bees to exit for cleansing flights when weather permits.


Cross Your Fingers!
Phew. Okay. We’ve done our part, and now it’s up to the bees to survive the winter. Last year, beekeepers in North America lost about 28% of their colonies over the winter (and 44% throughout the whole year). Losing a colony is always disheartening, but a successful overwinter is a wonderful thing! The best things you can do to ensure long-term colony survival are: don’t spend too much effort saving weak hives and don’t start over every year with expensive packages. Instead, start over with swarms or splits from strong, locally-adapted bees. Learn how to make splits from the hives that make it through, and you will slowly grow your apiary with strong, healthy bees that won’t struggle every winter. Good luck!